


Step One: Buy Some New Toys
I went to AmazonYES I know they are not profitable, but all of this was just to see how easy it really is to get an ASIC mining rig going.
 |
| Buy it Here |
Step Two: Wait (I DO NOT LIKE THIS PART)
Wait around for a week or so for my equipment to arrive. When it came in and I finally got to play with the Raspberry Pi...well...sort of...I realized I had forgot to buy a SD card to load an OS on, so Best Buy here I come.Step Three: OS Time
Weighing the options as to what OS to load: Arch linux, Raspbian, a horde of other, I finally came upon MinePeon and it caught my eye as a good turn key solution. If you haven't looked into MinePeon before, take a look here, it's an interesting and useful distribution specifically written for mining. It comes with all the tools built in including cgminer and bfgminer, plus a nice little web interface for monitoring your miners and their performance with email updates if your hash drops too low, or a miner dies on you.It took a little while to flash the image to the SD card, but once done, it loaded easily to the Raspberry Pi. Next I crossed my fingers, powered it up, and low and behold it boot flawlessly and found all the USB miners with no fuss or configuration needed.
Step Four: Pool Configuration
One of the nice things about using the MinePeons' web interface is the ease of configuring all you pools, I pointed the miners to my slush pool account and BAM it started mining.The ease of install was a breath of fresh air, there where no configuring scripts, no making sure everything was in the right place, no finding drivers and SDKs, etc. etc. It was actual plug and play...go figure. The whole process took less than an hour with 30 minutes of that spent downloading and flashing the MinePeon image on to the SD card.
 To recap, all I did was:
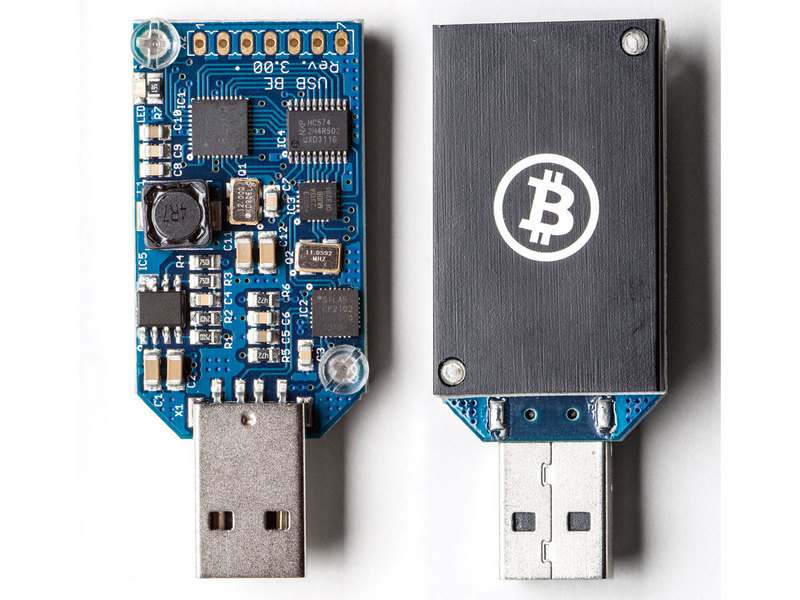
- Purchase 10 USB ASIC Block Eruptor - Bitcoin Miners, 1 Raspberry Pi, and a 10 port powered USB hub
- Plug all the miners into the hub and the hub into the Raspberry Pi
- Load the MinePeon image on to the SD card, stick it in the Raspberry Pi and powered up
- Set up my pools and start to mine


0 comments:
Post a Comment